Art in the Service of a Cause. Creating an Engaged Slideshow
Description of the projet led by Aurélien Fontanet
This document presents the ecopedagogical workshop that I led in 2024 at the Collège de Genolier with a group of students, centred on advocating for an ecological and social cause through artistic expression. This seven-session workshop aims to raise students' awareness of ecological, social, and humanitarian issues, both local and global, through a range of artistic practices such as video and photography. Each session is designed to encourage reflection, creativity, and the students’ commitment to a cause that matters to them.
In the first stage, students were invited to choose a specific cause that interested them and to research it. They then explored a variety of documentary and artistic techniques to help them develop their message and make it visible. Each session is structured around open discussions, practical workshops, and moments of collective exchange, fostering a collaborative and dynamic learning environment. This experience enabled students to develop not only their artistic skills, but also their social awareness and their ability to actively engage in defending important causes.
To make this possible, I contacted Jérôme Bixsel, teacher and head of the art courses at the Collège de Genolier, to propose a collaboration around my project Art in the Service of a Cause. Enthusiastic about the idea, we began planning the workshop sessions. Taking into account our respective availability and the visual arts timetable, we decided to offer the workshop to a group of five students from Years 9 to 11 who had chosen the art option. Working with a small group of motivated students proved to be ideal. It is nevertheless important to note that the facilitator or teacher should allow for a few additional hours to refine the project and manage the digital tools required to produce the final outcome.
Below are the key preparation steps to ensure the smooth running of the workshop.
Preparation beforehand:
It is essential to gather all the necessary presentation materials and read the project description carefully. It is also important to check that all the required equipment is available in the classroom and to plan the different stages in advance in order to ensure a smooth flow between the students' activities and those of the facilitators throughout the sessions.
Following my meeting with Jérôme, organised jointly with the microsillons collective, the project was approved and the planning proceeded smoothly. Once we had set the dates for the classroom sessions, I was then able to contact the two organisations I wished to invite: Nordesta Reforestation and Education and the International Cooperation Movement. I informed them about the project and asked for their agreement to attend Session 3, where they would meet the students and be interviewed on video. I also asked them to bring objects that were meaningful to them and symbolised the cause they defend, so that the students could photograph them. In preparation, I also drafted a set of questions for the organisations, which we would revisit together with the students during the first session.
Session 1 (2 class periods. Duration: 90 min):
(Duration: 00:00–00:45)
Meeting with the students. Round-table introductions and presentations. Introduce the workshop by exploring, through artistic practice, the defence of both an ecological and a social cause. Presentation of an engaged photographic project and the short film Isle of Flowers. Followed by a discussion with the students: exchanging viewpoints, raising questions, and taking positions.
(Duration: 00:45–00:90)
Present the two invited organisations through their websites. In this case, Nordesta Reforestation and Education and the International Cooperation Movement (MCI). Students contribute by discussing the questions prepared beforehand and inventing new ones. At the end of the session, ask the students to bring, for the next session, an image or an object that symbolises the cause they wish to defend.
www.nordesta.org – www.mcifgc.ch – www.inhobikwa.org – www.csf-ge.ch
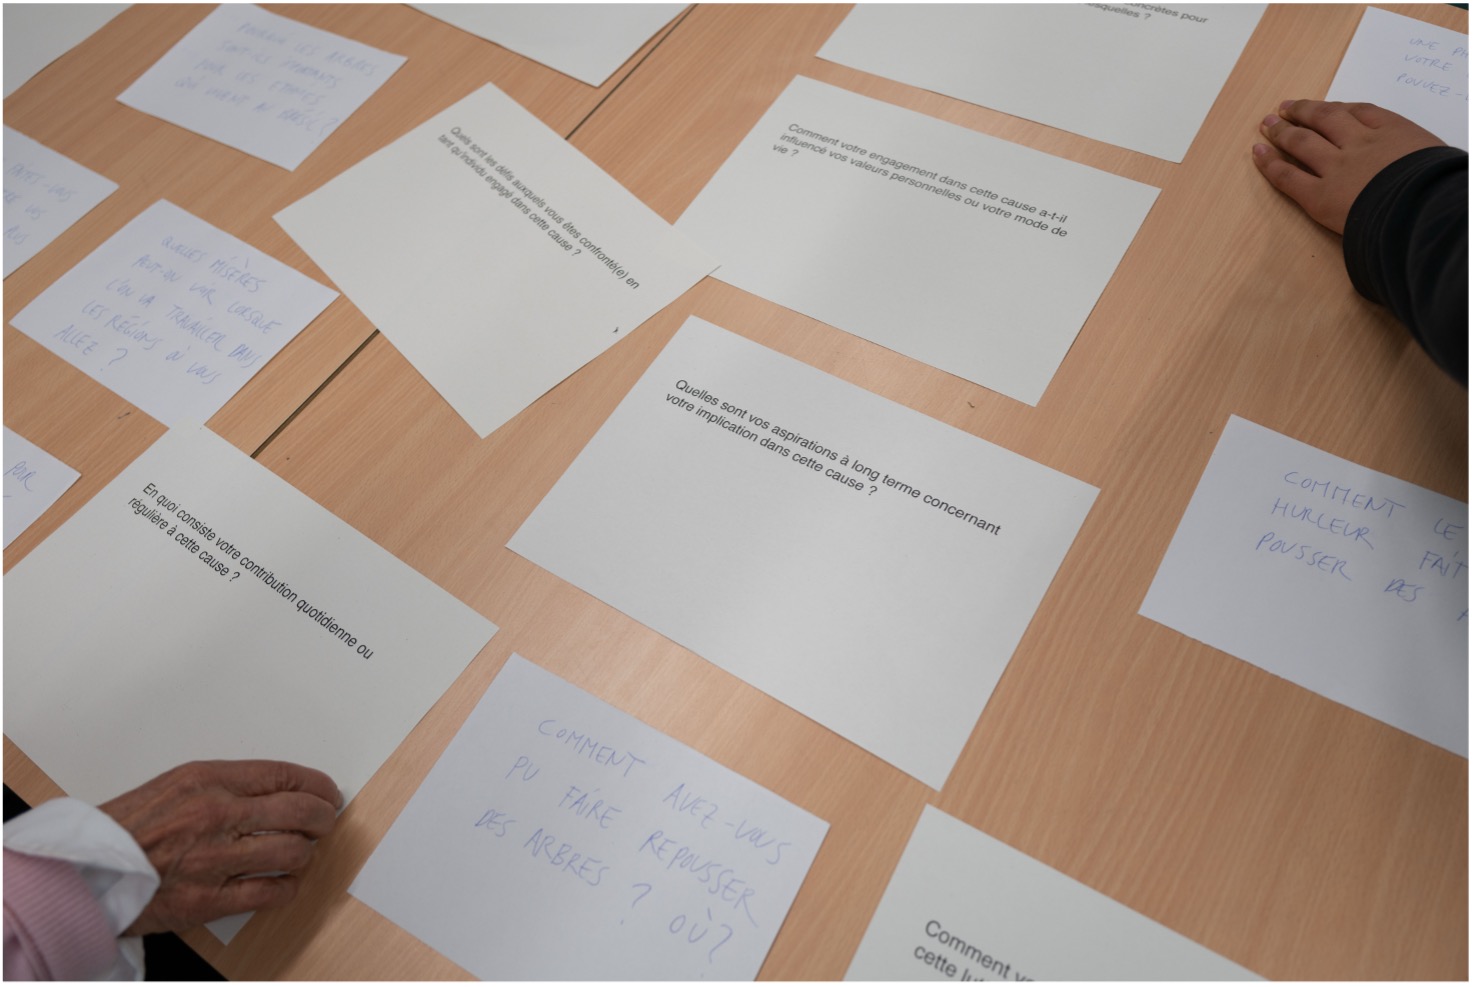
List of questions developed with the students:
Nordesta Reforestation and Education:
- How do howler monkeys help trees grow?
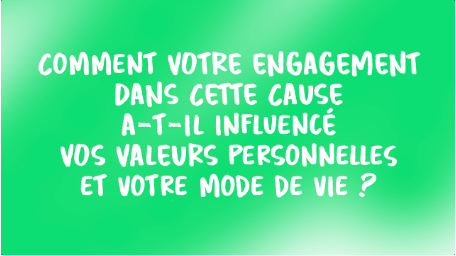
- How has your commitment to this cause influenced your personal values and way of life?
- Which ecological or social cause matters most to you?
- What does your daily or regular contribution to this cause consist of?
- What actions have you carried out with the organisation?
MCI - Mouvement pour la coopération internationale :
- What do jaguars represent for the Wampis people?
- Where do the teachers involved in these programmes come from?
- How have certain Amazonian peoples managed to preserve their culture?
- What initially motivated you to become involved in this cause?
- Do you still travel frequently to South America?
Materials:
- PDF presentation of artists and photographers whose work engages with social and ecological issues.
- The organisations' websites.
- The questions prepared in advance by the teacher.
- A4 sheets (one question per A4 sheet, loose pages > to be reworded and refined with the students).
Students’ reflections (Session 1):
The round-table introductions created a friendly atmosphere and allowed us to get to know each other better. The presentation of an engaged photographic work was a powerful moment that sparked many reactions and questions among us. The introduction to the workshop was particularly inspiring, especially when we explored the central question: “What does it mean to defend a cause?” This question encouraged us to reflect deeply on our values and on the causes that matter to us.
The presentation of the organisations through their websites was particularly informative. We discovered concrete and inspiring initiatives, which helped us better understand the issues involved in defending these causes. Together, we developed the questions that we would ask the representatives of these organisations.
Everyone had the opportunity to express their views and listen to those of others. This helped us realise how powerful art can be in communicating important messages and bringing about change.
Session 2 (2 class periods. Duration: 90 min):
(Duration: 00:00–00:90)
Presentation of the images brought by the students and discussion of the chosen themes. Construction of the green screen for the organisations' interviews. Presentation and installation of the video and photography equipment, along with the staging. Planning and allocation of roles in preparation for the interviews and photographic sessions during the third session.
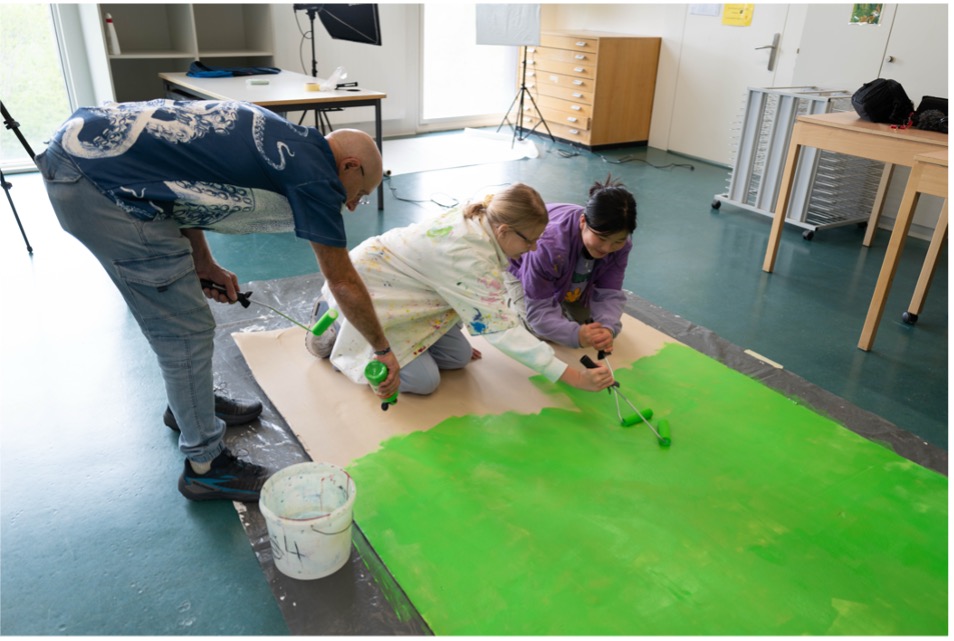
Material:
- Large cardboard sheets (or assembled panels)
- Green paint
- Paint rollers
- White A2 paper sheets or a roll of white paper table covering (photo backdrop)
- Digital camera (with 32 GB SD card, microphones) / Flash units OR tablets
Students’ reflections (Session 2):
We began by assembling and painting the green screen that would be used for filming the interviews, a task that involved all of us and required genuine teamwork. Everyone contributed, which strengthened our collaborative spirit. The presentation and installation of the video equipment were key moments of this session. We learned how to handle the camera, microphone, and lighting, giving us an insight into the technical aspects of video production. This part of the workshop helped us understand the importance of each element in creating a high-quality interview.
Next, we worked on staging the interviews. This involved thinking about the arrangement of elements within the frame, the lighting, and the atmosphere we wanted to create. The process was highly creative and allowed us to see how the environment can influence the way messages are perceived.
Dividing the different tasks among the students became an exercise in project management. Each of us was able to choose a role that matched our skills and interests, whether behind the camera, handling the sound, or assisting with the staging. This helped us better understand the importance of coordination and individual responsibility within a collective project.
While preparing for the filming, we also discussed the questions we would ask the representatives of the organisations. This stage was essential to ensure that we were well prepared and that our interviews would be relevant and engaging.
Overall, this session not only taught us the technical basics of video and photography, but also strengthened our ability to work together effectively and creatively. We are looking forward to putting what we have learned into practice during the upcoming interviews.
Session 3 (2 class periods. Duration: 90 min):
(Duration: 00:15)
Meeting with Anita Studer, President of Nordesta Reforestation and Education.
(Duration: 00:15)
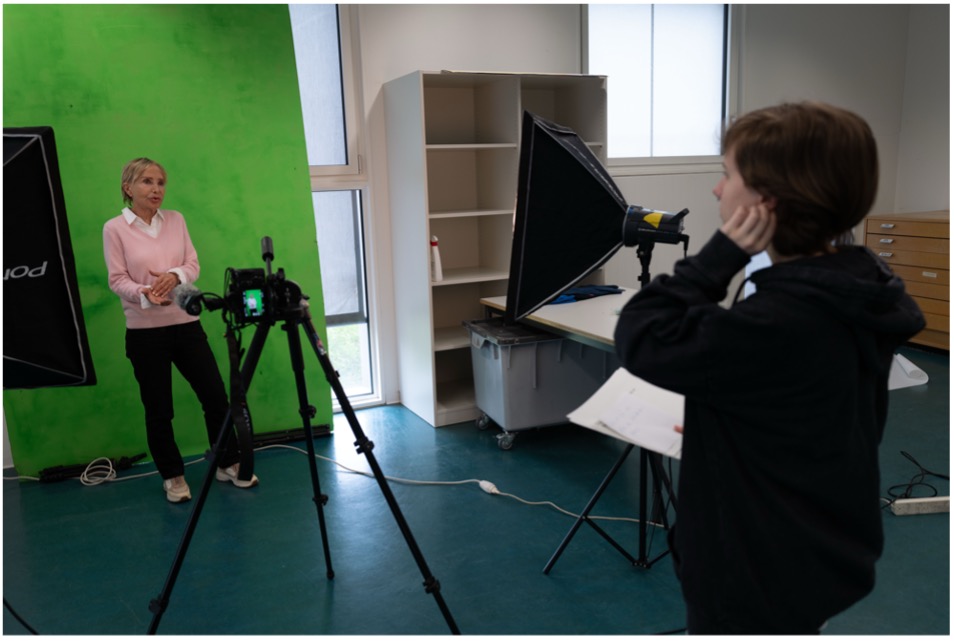
Filming of the video interview.
(Duration: 00:15)
Meeting with Aurélien Stoll, Secretary General of the International Cooperation Movement (MCI).
(Duration: 00:15)
Filming of the video interview.
(Duration: 00:30)
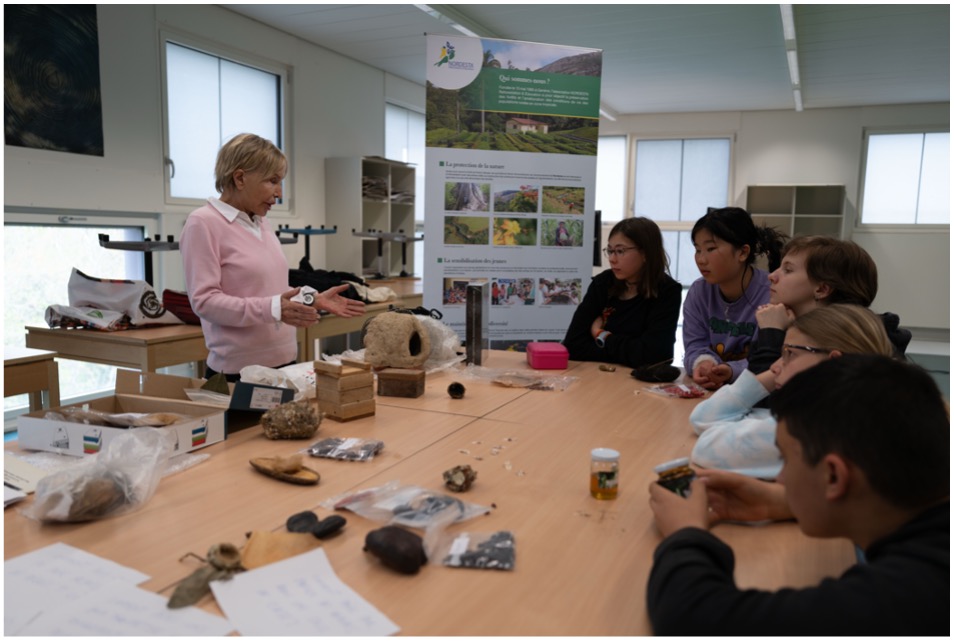
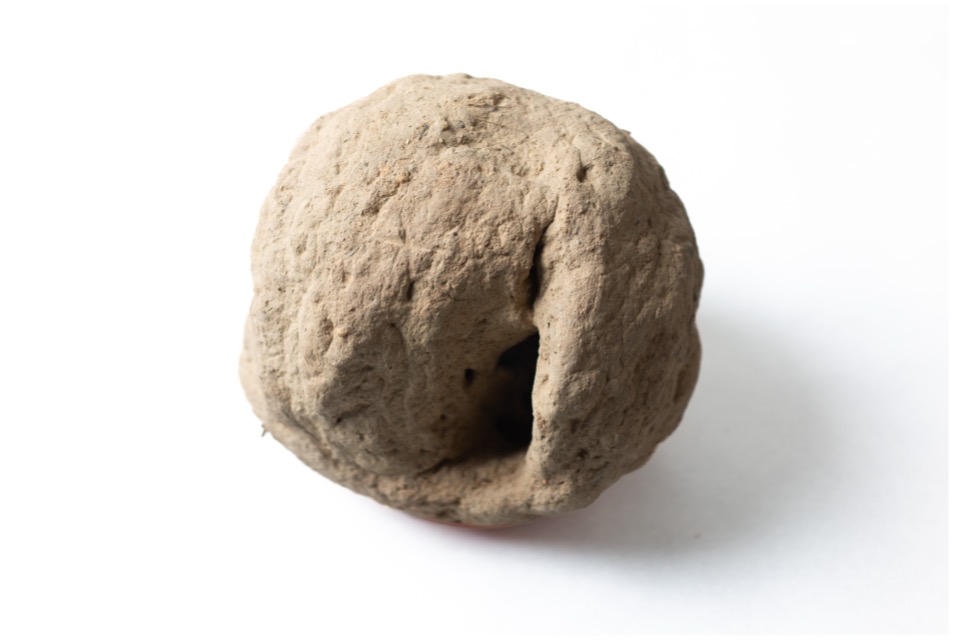
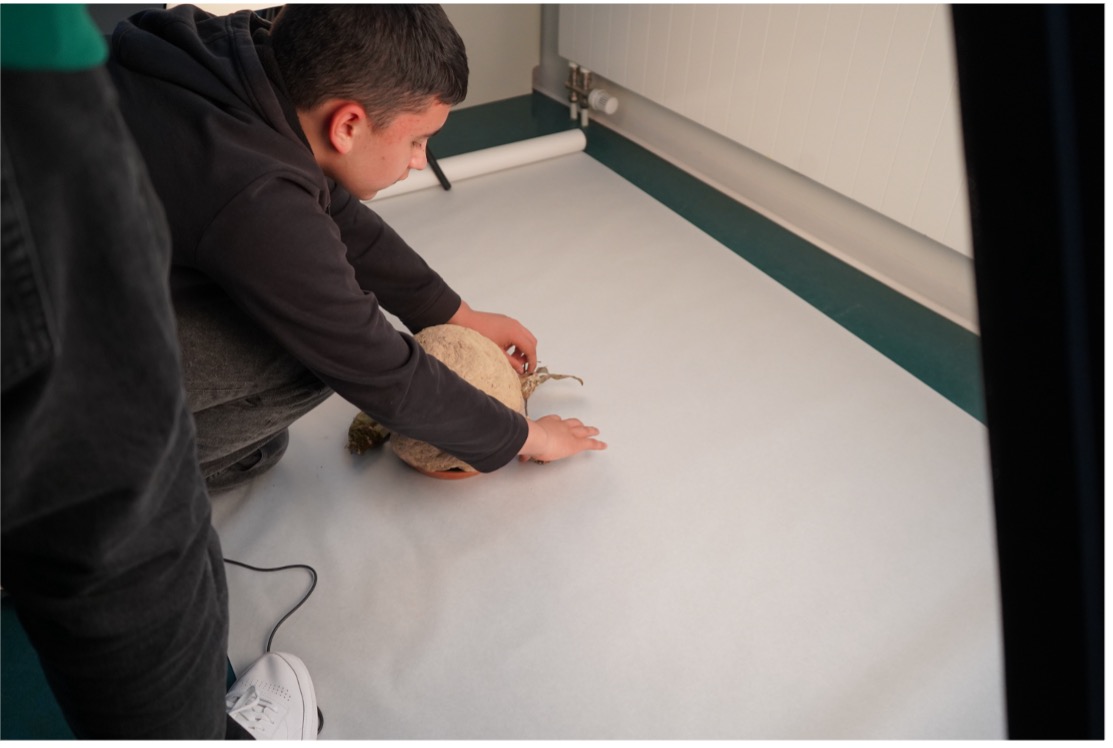
Photographing the objects brought by the representative of each organisation.
Students’ reflections (Session 3):
The session with the representatives of the organisations was particularly enriching and inspiring. We began by meeting Anita Studer, President of Nordesta Reforestation and Education. The interview with her lasted around fifteen minutes, during which she shared her experiences and commitment to reforestation. Her words deeply moved us and highlighted the importance of her work.
We then had the opportunity to speak with Aurélien Stoll, Secretary General of the International Cooperation Movement (MCI). This interview, also lasting fifteen minutes, was equally engaging. Aurélien spoke to us about the MCI’s initiatives and the challenges they face in carrying out their work. His presentation generated great interest and respect among us.
After filming the interviews, we photographed the objects brought by the representatives of the organisations. Each object, with its own unique and meaningful story, enriched our understanding. Photographing these objects taught us how to create images that tell a story and convey a powerful message.
This session not only allowed us to improve our interviewing and photography skills, but also strengthened our motivation to stand up for important causes. Our exchanges with Anita Studer and Aurélien Stoll opened our eyes to the impact that committed individuals can have on the world.
Session 4 (2 class periods. Duration: 90 min):
(Duration: 00:00–00:45)
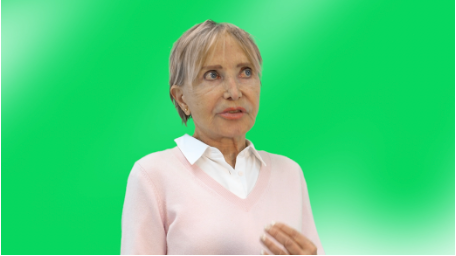
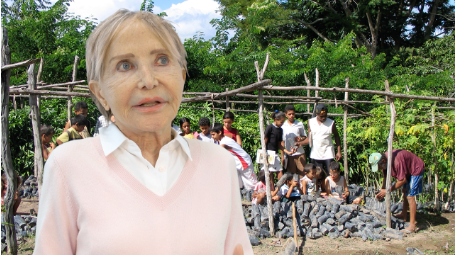
Viewing the interview footage and photographs of the objects in order to carry out an in-depth analysis of the material. Presentation to the students of the green-screen compositing technique (tutorial link: iMovie – Green Screen), followed by a demonstration of the text tool for adding title cards (the questions) to the video sequence (see tutorial: iMovie – Text Tool). Finally, demonstration of how to overlay the images of the objects and those collected from the organisations’ websites. (This work related to the interviews will be completed later by the teacher while working remotely.)
(Duration: 00:45–00:90)
Steps for the students:
- Create a new folder on the student's computer desktop and name it using the following format: FirstName-LastName-Class.
- Create a new blank text document (to be saved in the student's folder), in which the student writes the title of their project. An accompanying text will be written later by the student.
- Search for images using Google Images, with a detailed explanation of the tools, particularly regarding file size selection and the method for saving images.
Students’ reflections (Session 4):
As a group, we watched excerpts from our interviews and analysed the technical aspects of the image and sound. This allowed us to identify our strengths as well as the aspects that could be improved. For example, we noted the importance of camera stability, sound quality, and lighting in producing high-quality videos.
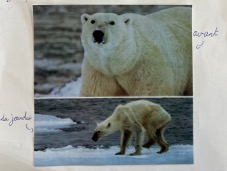
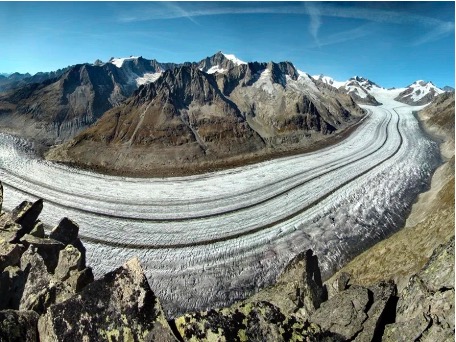
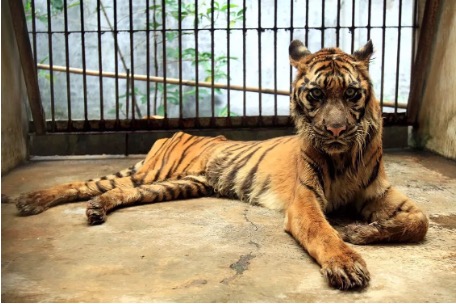
Next, each of us chose the cause we wished to defend. This was a crucial moment, as it allowed us to commit personally to a cause. Among the causes selected by the students were the melting of Swiss glaciers, the disappearance of polar bears, the extinction of the red tiger, the LGBTQ cause, and the "Stop War" movement. Everyone’s enthusiasm and passion were evident, which strengthened our motivation to create an engaged short film.
Our facilitator then presented and distributed the protocol to follow for the production of our engaged short film. The work plan (see appendix) was very helpful in guiding us through the different stages of the project. We also created our folders on the computer, allowing us to begin organising our ideas and resources in a structured way.
This session not only enabled us to improve our technical skills, but also gave us a clear direction for the next stages of our project.
Session 5 (2 class periods. Duration: 90 min):
(Duration: 00:00–00:90)
Image research using Google Images and selection of ten images by each student, to be arranged in a coherent sequence. The students then begin writing an argumentative paragraph in support of the cause they have chosen and start thinking of a title for their project.
Steps for the students:
- Each student opens their images in sequence, numbered from 1 to 10, in order to follow the established order.
- While viewing their images on screen, the students begin writing their text, either on paper or directly in their text document.
- For the next session, students should continue writing their paragraph and think of a title for their project.
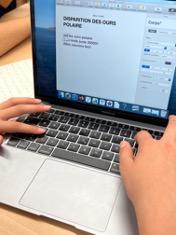
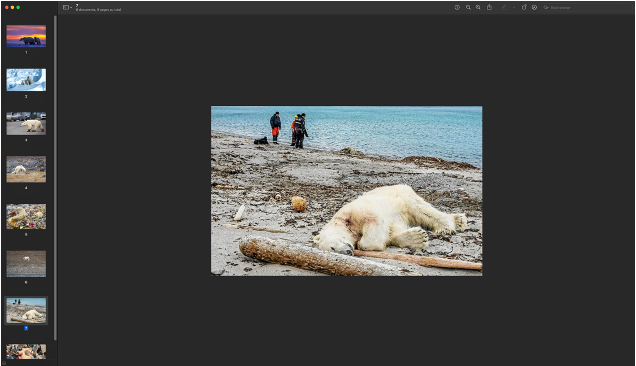
Students’ reflections (Session 5):
The session dedicated to Google Images research and the introduction to writing a personalised advocacy text was highly enriching. We began by using Google Images to find relevant visuals for our project and for the cause we had chosen to defend. We learned that the image search tools allow users to select the quality of the images.
Next, we numbered our images from one to ten in our personal folders on the computer. This step was essential for organising the images into a coherent narrative sequence, which would help us structure our message in a clear and compelling way.
By following the instructions, we succeeded in arranging our images in a logical order. For example, by illustrating the progressive deterioration of our subject through a "before" and "after" sequence (today and tomorrow), we added a dramatic dimension that emphasised the urgency of the cause we were defending. This process enabled us to clarify our ideas and plan an effective visual impact. We not only learned how to use digital tools to carry out our project, but also strengthened our ability to work independently and in an organised way.
Session 6 (2 class periods. Duration: 90 min):
(Duration: 00:00–00:90)
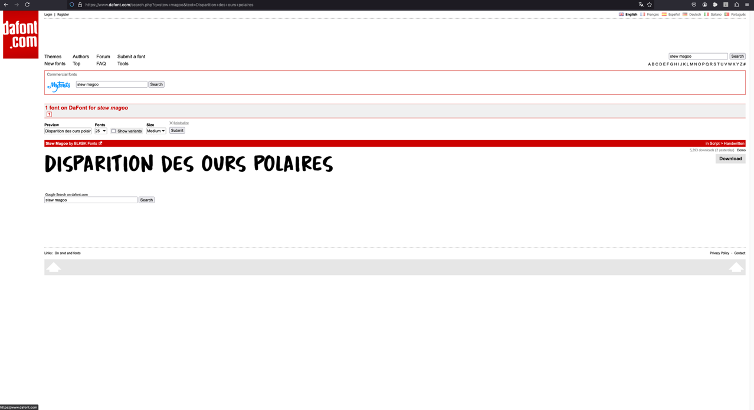
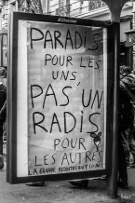
Review and validate the students' texts, then present examples of activist posters and analyse typefaces with an engaged visual style. Together with the students, choose the Lato Regular typeface for the body text and Stew Magoo for the titles, both available on dafont.com. Download and install the typefaces on the laptops.
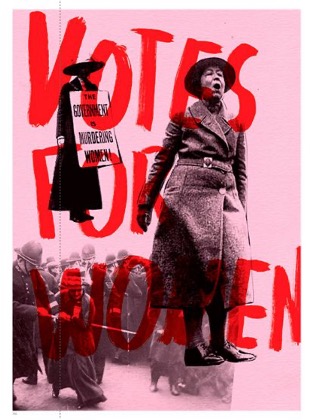
Begin editing the subtitled ten-image slideshows in iMovie.
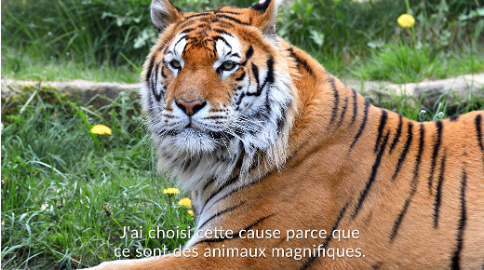
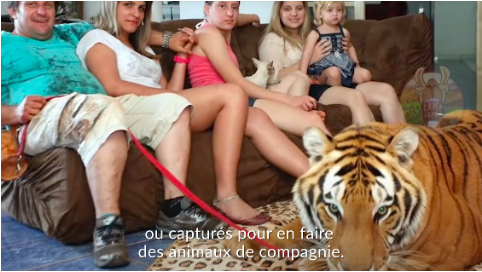
Steps for the students:
- Place the ten images onto the iMovie project timeline, adjusting their duration to fit the sequence (duration per image: six seconds / total video duration per student: one minute).
- Transcribe the text into iMovie, overlaying it onto the images.
Session 7 (2 class periods. Duration: 90 min):
(Duration: 00:00–00:90)
Continue editing the slideshows, followed by a screening and group discussion. It is suggested that these slideshows be adapted into posters by a graphic designer for the FAIRE ÉCO exhibition, while the interviews remain in video format and are presented on screens.
Steps for the students:
- Transcribe the text into iMovie, overlaying it onto the images.
- Export the slideshows in H.264 format (https://support.apple.com/fr-ch/guide/imovie/move6e0cb2ad/mac) and review them.
Work carried out during and after the workshop by the teacher/facilitator:
Save the students' projects to an external hard drive at the end of each session and centralise all the collected materials. Edit the video interviews and develop the final presentation of the projects. As part of the FAIRE ÉCO exhibition at the LiveInYourHead space, the students' projects will be transformed into Instagram Story-format posters (72 cm × 128 cm). The images will be modified to avoid any copyright issues related to those sourced from the Internet. However, the students' projects will be respected in their entirety, including their research, texts, and original intentions.
CONTRIBUTION TO AN ECOPEDAGOGICAL TOOLKIT
Creating an Engaged Slideshow
Education level: Secondary (Years 9, 10, 11)
Number of class periods: 14 periods (7 sessions)
PER [Plan d'étude romand] Arts learning objectives addressed: Encouraging creative thinking through innovative and original problem-solving situations – Designing, developing and producing a video project – Providing opportunities for individual and collective discussion to encourage questioning, analysis and readjustment throughout the creative process – Valuing students' technical, perceptual and cultural experiences – Reading still and moving images – Developing attention and curiosity through contact with artistic and environmental objects – Encouraging the expression of personal responses – Using at least one image-editing software program and a digital camera – Encouraging discovery and experimentation – Developing curiosity, openness, attentive listening, and respect for cultural, social and value differences – Choosing a cause and involving students in the creation of an exhibition, a collective artwork, an object or a project – Preparing and making the most of encounters with artistic, social and cultural practices in the classroom.
Transversal skills: Recognising one's belonging to a community – Demonstrating openness to cultural and ethnic diversity – Identifying one's perceptions, feelings and intentions – Assessing the quality and relevance of one's actions – Developing opinions and making informed choices – Choosing and selecting among different possibilities – Managing materials, time and organising work – Evaluating the relevance of one's choices.
Summary: Art in the Service of a Cause is a collaborative project designed for secondary school students that explores ecological, social, and humanitarian issues through artistic practices. One of its key challenges is to raise students' awareness and encourage them to engage with a cause, whether local or global, by facilitating encounters with people actively involved in such initiatives. The aim is to enable students to develop a personal perspective and express it through artistic practice while constructing a message that they may choose to share with a wider audience. Students also have the opportunity to explore and use contemporary tools such as video and photography.
Steps:
- Teacher familiarises themselves with the project. (See project description.) (Preparation)
- Contact at least one organisation defending an ecological, social, cultural, or environmental cause and invite one of its representatives to participate in Session 3 for an interview. Ask them to bring an object that is meaningful to them and symbolises the cause they defend. (Preparation)
- Prepare a set of questions for the organisations. These will be discussed and expanded together with the students. Gather all the required materials. (See p. 3.) (Preparation)
- Show students examples of photographers' and artists' work advocating for a cause. Screen the short film Isle of Flowers. (See project description.) (Session 1)
- Introduce the organisation through its website. (Session 1)
- Develop the interview questions with the students. (Session 1)
- Ask the students to bring, for the following session, an image representing the cause they wish to defend. (Session 1)
- Present and discuss the images brought by the students. (Session 2)
- Build the green screen. (Session 2)
- Present and install the video and photography equipment and prepare the staging. (Session 2)
- Assign roles and plan the questions that will be asked to the guest speaker. (Session 2)
- Meet the guest speaker, film the interview, and photograph the objects. (Session 3)
- Save the video and photo files. (Teacher)
- Screening and analysis session. (Session 4)
- Introduce the green-screen compositing technique and the iMovie text tool. (Session 4)
- Students confirm the cause they wish to defend and begin their research. (Session 4)
- Students select their images and organise the visual narrative. (Session 5)
- Students write a paragraph supporting the cause they have chosen. (Session 5)
- Ask the students to refine their text for the next session. (Session 5)
- Review and validate the texts. (Session 6)
- Present examples of activist posters and analyse expressive typefaces. (Session 6)
- Choose the typefaces together with the students. (Session 6)
- Begin editing the slideshows. (Session 6)
- Continue editing the slideshows. (Session 7)
- Analyse the slideshows and discuss the exhibition of the projects. (Session 7)
- Save the students' projects throughout and after the completion of the work.
- Edit the video interviews. (Post-project work)
- Coordinate the FAIRE ÉCO exhibition at LiveInYourHead together with the microsillons collective and the TRANS Master's programme. (Post-project work)
Objectives: Design and realise an idea based on a given brief – Organise the creative process and support students through its different stages – Enable students to make artistic choices in their own productions – Encourage students to develop critical thinking through discussion and debate, here focused on environmental and social issues.
Techniques: Three-dimensional construction and painting (green cardboard backdrop for video filming) – Documentary image research using Google Images – Video recording – Object photography – Writing – Graphic design – Presentation of the final production.
Materials per student: Laptop computer or tablet, Wi-Fi, word-processing software (Word), image-viewing software, Adobe Acrobat (PDF).
Shared materials: Classroom, digital photo/video cameras or tablets, external hard drive or 64 GB USB drive, tripod, white A2 paper sheets or a roll of white paper table covering, presentation PDF, internet links.
Materials for the teacher: Computer and video-editing software or a tablet equipped with a video-editing application.
Artistic references: Isle of Flowers (Jorge Furtado), inhobikwa.org, À l'abri des regards (Aurélien Fontanet), Les Xikrin du Cateté (Aurélien Fontanet), To Be and to Have (Nicolas Philibert).
Glossary: Bruno Manser, Anita Studer, Greenpeace, Survival International, International Cooperation Movement (MCI).
Possible extensions:
- Collaborate with the students to design the exhibition scenography for their work in an appropriate venue, while clearly defining their roles and responsibilities during the event.
- Design a website together with the students to showcase their creations, thereby extending the impact of the exhibition and the causes they support.